Among all the website builders, Elementor is the most popular builder. But despite its popularity, it has certain limitations. For instance, Elementor does not allow vertical dividers. But you need not worry because there are certain ways to add a vertical divider for a better user experience. Whether you’re an experienced developer or just starting with this powerful page builder, these simple techniques will enable you to create stunning layouts that catch the eye effortlessly. So, let’s discover “How to Add a Vertical Divider in Elementor”.
What is a Vertical Divider?
A vertical divider in Elementor refers to a visual element that is used to create a vertical line or separator between different sections or elements on a web page. It is a design element that helps to organize and separate content and improve the overall layout and aesthetics of a website.
Why Use Vertical Dividers?
- Organize Content: Separate different sections or elements for better structure.
- Enhance Design: Add a sleek and professional look to your website.
- Improve Readability: Make content easier to read and navigate.
How to add a vertical divider in Elementor | Elementor Pro?
In order to add a vertical divider in Elementor (free version), follow the given procedure:
Step 1: Add a new Elementor section
Step 2: Adjusting the columns in the section
Step 3: Add Elementor divider
Step 4: Change the properties of the divider
Step 5: Style the vertical divider
Step 1: Add a new Elementor section
The first thing is to add a new section with three columns.
![]()
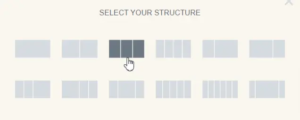
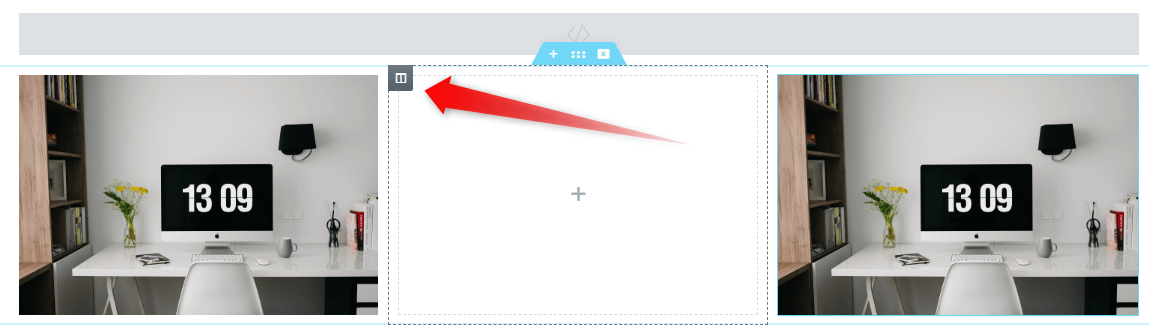
Two of these columns (Left & right) will be used to insert images/elements and the middle column will be used to insert the divider.

Step 2: Adjusting the columns in the section
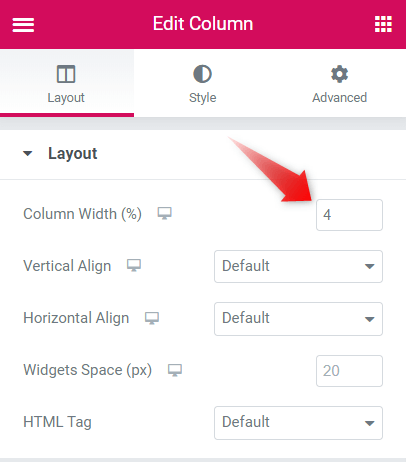
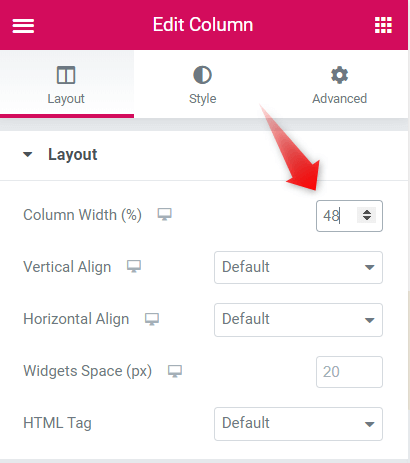
To insert a divider, you’ll have to adjust the width of the middle column. Hover over the middle column and click on the Edit Column icon in the upper corner of the middle column.
To ensure the divider fits perfectly, adjust the column width under the Layout tab to 4%. By making the middle column narrower, enough space for the divider will be created to seamlessly fit in, giving a balanced and visually pleasing layout.
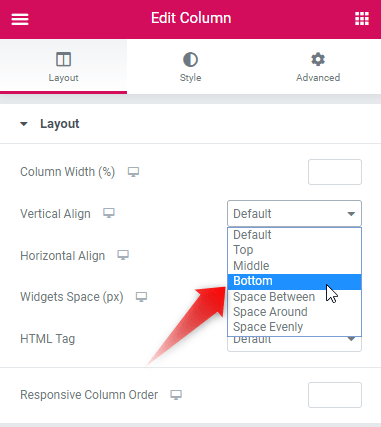
Modify the “Vertical align” attribute to “Bottom”.
Access the edit column toolbox for the right and left columns to adjust the width of each column individually to achieve your desired design and layout.
Step 3: Add Elementor divider
In the search bar at the top of the sidebar, type “Divider” and hit enter. Look for the “Divider” element in the search results. Drag and drop the Divider element in the middle column of the section.

Step 4: Change the properties of the divider
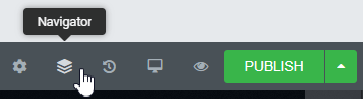
To change the divider properties, locate the navigator at the bottom of the left sidebar in the elementor editor. Once you have located the navigator icon, click on it to modify the properties of the divider using the navigator toolbox.
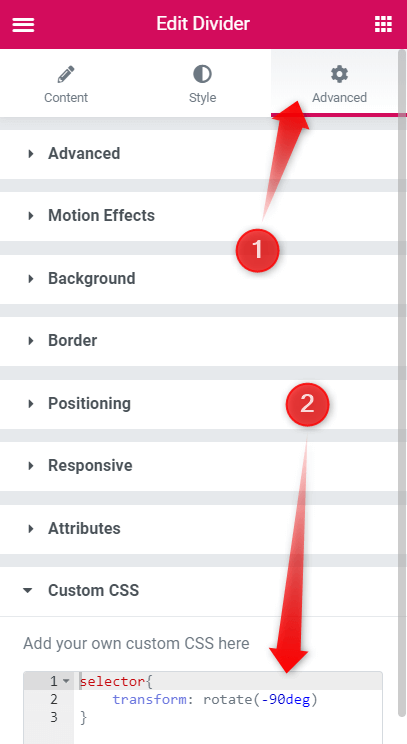
Open the edit divider properties tab using the navigator toolbox. To change the properties, open the Edit Divider toolbox in the left sidebar and click on the Advanced tab.
Locate the Custom CSS and open it. Now add the following code in the Custom CSS text box:
selector{
    -webkit-transform: rotate(-90deg);
        -ms-transform: rotate(-90deg);
            transform: rotate(-90deg)
}
.vertical-divider{
    -webkit-transform: rotate(-90deg);
        -ms-transform: rotate(-90deg);
            transform: rotate(-90deg)
}
Paste the code in the additional CSS. This action will change the position of the divider from horizontal to vertical.
Step 5: Style the vertical divider
Go to the Edit Divider toolbox again and click on the Content Tab this time to style the divider.
Change the unit of width to PX. To adjust the height of the divider use the width scrollbar.
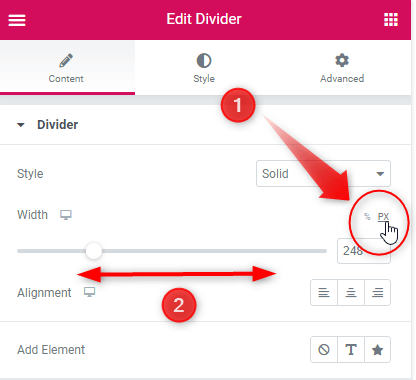
Once you have adjusted the width and height of the divider, now is the time to style the divider.
Go to the Style attribute and select the desired style of the divider from the dropdown.
If you want to add an icon or text in between the divider, you definitely can do this using the “Add Element” attribute.
![]()
Responsive Tab Setting
This technique is specifically suitable when you have adjacent columns, such as in a desktop layout. However, it may not yield the desired visual result on mobile devices. In such cases, it becomes necessary to hide the divider element using the responsive tab within the advanced menu.
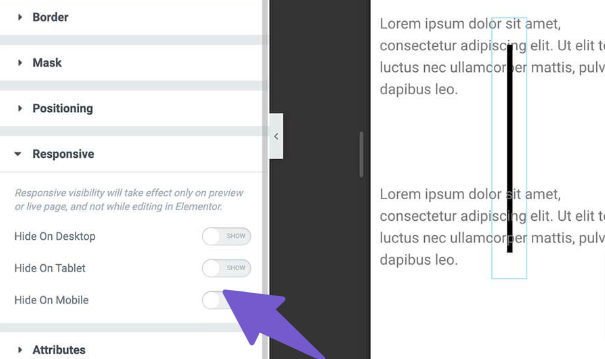
By utilizing this option, you can ensure that the divider is selectively hidden on mobile devices, allowing for a seamless and optimized viewing experience across different screen sizes.
How to Add a Vertical Divider in Elementor Using Plugin
Adding a vertical divider without the help of a plugin is not a difficult task and does not require coding knowledge. But if you hate codes and do not want to engage with the coding, then this method is absolutely for you.
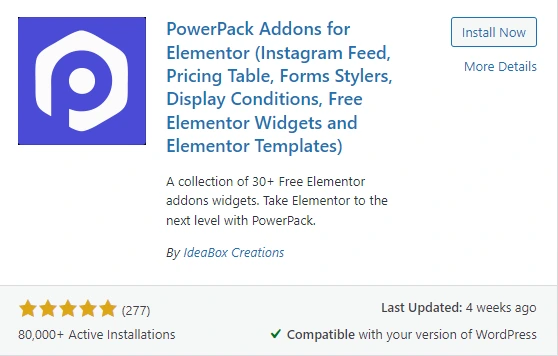
Using a plugin does not require much effort. This is a straightforward technique to add a vertical divider. Plugins are useful to easily customize the widgets as per your needs. The famous and one of the best plugins being used to add vertical dividers is PowerPack Addons.
Follow the steps given below:
- Go to your WordPress Dashboard
- Navigate to Plugins>>Add New
- Locate the search bar and type “PowerPack Addons for Elementor”

- After the plugin appears on the screen, Click on “Install Now” and “Activate”
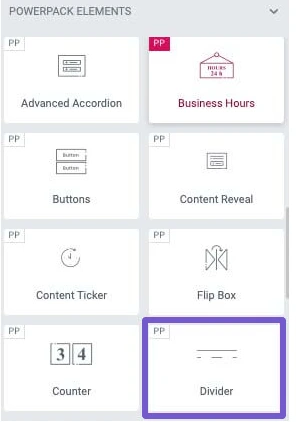
- Once the Plugin is activated, go to the page (Edit with Elementor) where you want to add a divider.
- In the left sidebar, Locate the PowerPack Elements, and drag and drop the Divider element of the plugin on the desired location.

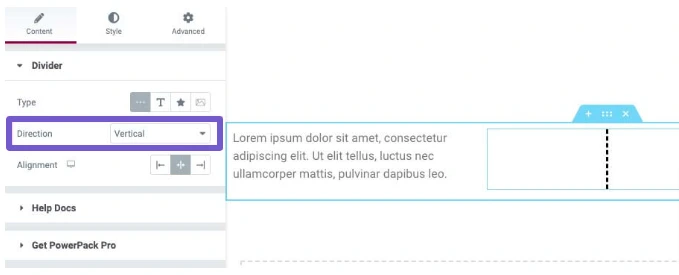
- You can customize the divider according to your needs from the divider edit menu.

- Once you are done with the changes, click on update.
You may like:
Best WordPress Ecommerce Plugins
Conclusion
In conclusion, adding a vertical divider in Elementor is a simple yet effective way to enhance the visual appeal and organization of your website designs. We have described the two easiest ways “How to add a vertical divider in Elementor”. Whether you’re a beginner or an experienced user, the process of adding a vertical divider is straightforward and can be easily customized to suit your design preferences.
Remember to consider the responsive design and make necessary adjustments for optimal display across various devices. With Elementor’s versatile tools and options, you have the freedom to unleash your creativity and create stunning websites that leave a lasting impression on your visitors. So, go ahead and experiment with vertical dividers in Elementor to elevate the aesthetics of your web pages and deliver a remarkable user experience.
FAQs. (How to add a vertical divider in Elementor)
How can I add a shape divider in Elementor?
- Add a new Section.
- Go to Section > Style > Shape Divider.
- Choose to display at the Top or Bottom of your section.
- Type: Click the dropdown to choose your Shape Divider style.
- Color: Pick a color.
- Width: Set the width of your Shape Divider.
- Height: Set the height of your Shape Divider.