Encountering a 404 error page, signaling that the requested webpage is not found, can be a frustrating experience for users and potentially lead them to abandon your website. To mitigate this issue and enhance user experience, creating a custom 404 page in WordPress becomes crucial. In this detailed guide, we will delve into the importance of custom 404 pages, why they matter for SEO, and provide step-by-step instructions on how to create custom 404 page in WordPress.
Why You Need a Custom 404 Page?
Understanding the Default 404 Page:
The default WordPress 404 page is basic and provides a simple error message. However, it lacks the ability to guide users effectively. A custom 404 page, on the other hand, allows for a more user-friendly experience.
Benefits of a Custom 404 Page:
A custom 404 page enables you to:
- Provide users with meaningful links, a search bar, or a navigation menu to help them find what they’re looking for.
- Express empathy by apologizing and explaining why the page is unavailable. This not only addresses user frustration but also fosters understanding and appreciation.
- Infuse your brand’s unique voice and style on the 404 page, making your site more memorable and distinctive.
- Inject some creativity with a witty message, a funny image, or a clever animation.
- Encourage users to take specific actions, such as signing up for newsletters, following on social media, or reaching out for support. Transform the error into an opportunity for user interaction.
1.3 SEO Impact:
A custom 404 page provides numerous SEO benefits, including following:
- By keeping users engaged on your site, a custom 404 page helps reduce the bounce rate, indicating to search engines that your content is relevant and valuable.
- Users spending more time on your site searching for alternative content positively influences dwell time, a key metric in search engine algorithms.
- Positive interactions with your site, facilitated by a well-designed 404 page, contribute to improved user signals, enhancing search engine rankings.
- A custom 404 page prevents soft-404 errors, where a server returns a “200 OK” status instead of a “404 Not Found” status, avoiding confusion for both users and search engines.
How to Create Custom 404 Page in WordPress
Using Plugins:
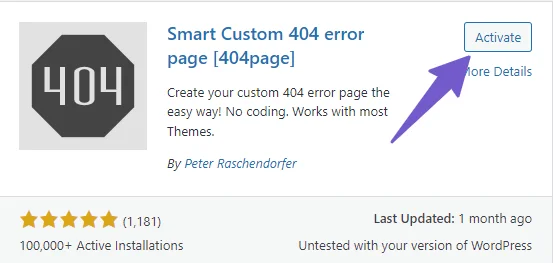
Creating a custom 404 page using a plugin is an efficient and beginner-friendly method. The Smart Custom 404 Plugin stands out for its simplicity and effectiveness. You can create a custom 404 page in WordPress by following the steps given below:
- Navigate to Plugins > Add New, search for “Smart Custom 404 Plugin,” and install it.

- Go to Pages > Add New.
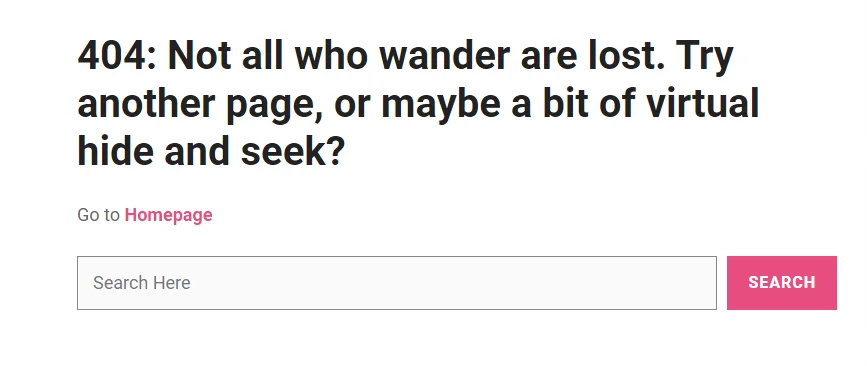
- Design your 404-page content, including a search bar, recent posts, or links to popular pages.

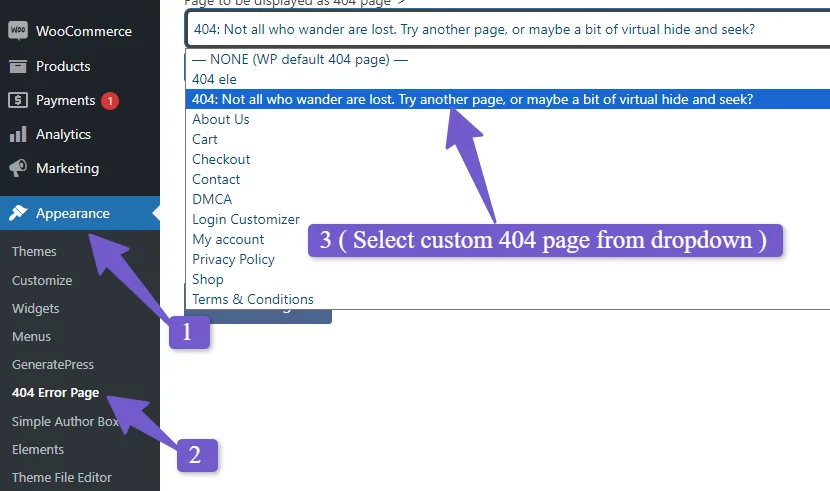
- Access Appearance > 404 Error Page, choose the created page and save changes.

The Smart Custom 404 Plugin ensures fast and SEO-friendly implementation without creating redirects or additional server requests.
Using Page Builders:
Utilizing page builders provides flexibility and customization options for creating custom 404 pages. We will explore methods for the WordPress Block Editor, Elementor, and Divi.
Using WordPress Block Editor:
- Navigate to Appearance > Editor
- Select Template, and edit the 404-page template.
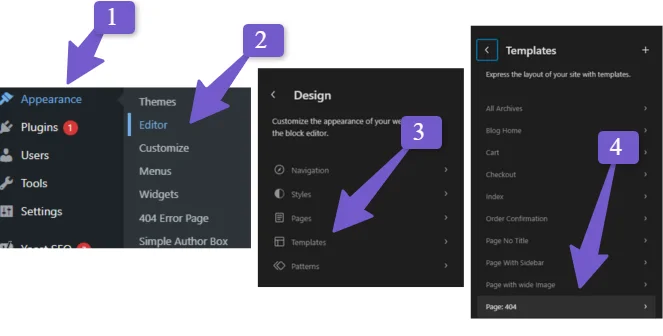
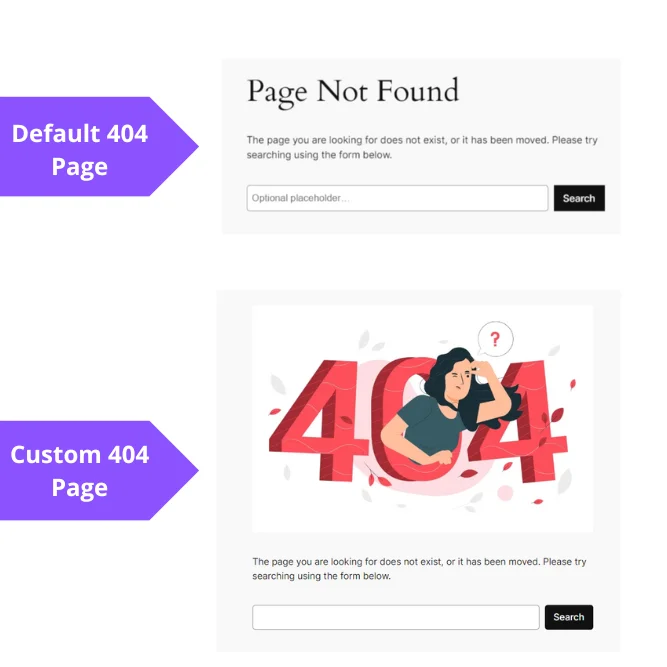
- Customize the text, add images, and design the page according to your preferences. A comparison between default 404 and custom 404 page can be seen in the screenshot given below:
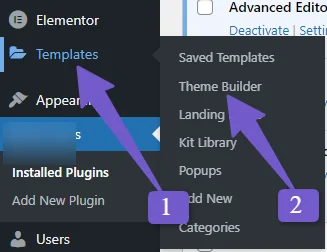
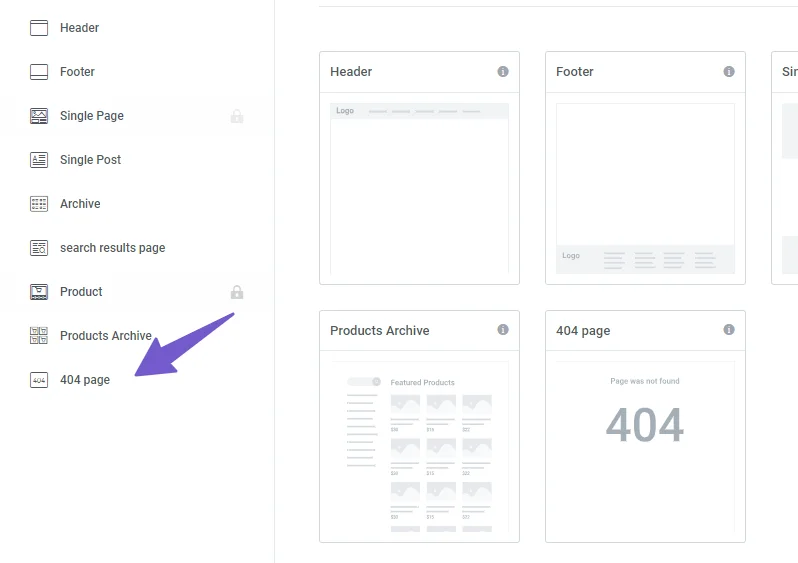
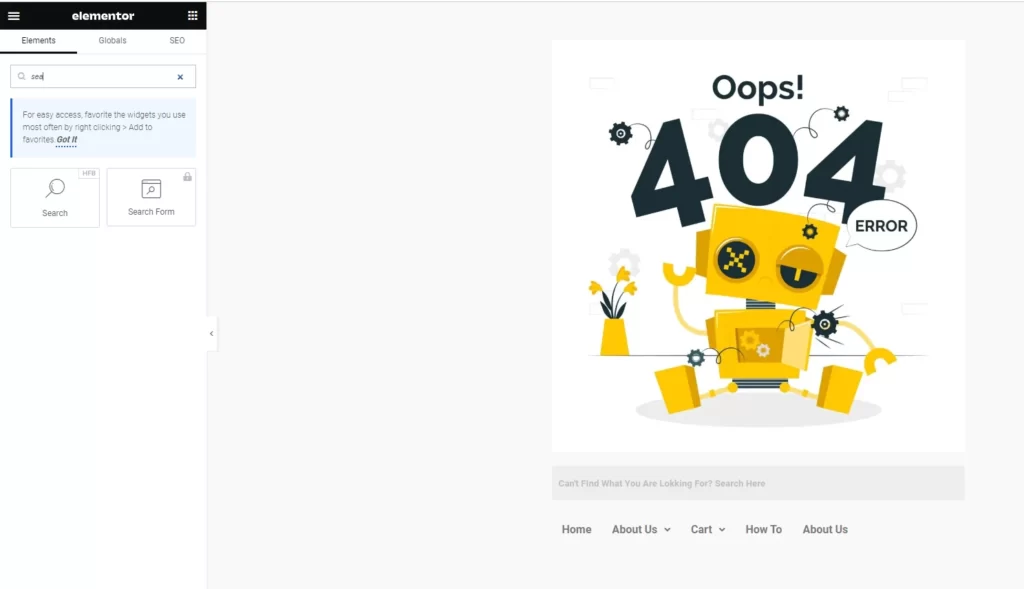
Using Elementor Page Builder:
- For Elementor PRO: Go to Template > Themebuilder, find the 404 page, edit, design, and publish.


- For Elementor Free: Create a new page, edit with Elementor, design, and publish. Use the Smart Custom 404 plugin to set it as the default 404 page.

Using Divi Page Builder:
- Go to DIVI > Theme Builder
- Build a new template for the 404 page, and save it.

- Choose a premade 404 page from the library or customize one yourself.
Using Coding:
For those familiar with coding, editing the 404 page in WordPress is an option.
Note: I recommend you to create back up of your site before making any changes to the codes.
Access Appearance > Theme File Editor, locate and edit the 404 page, and add custom code. Add the following code :
<?php get_header(); ?>
<div id="primary" class="content-area">
<main id="main" class="site-main">
<section class="error-404 not-found">
<header class="page-header">
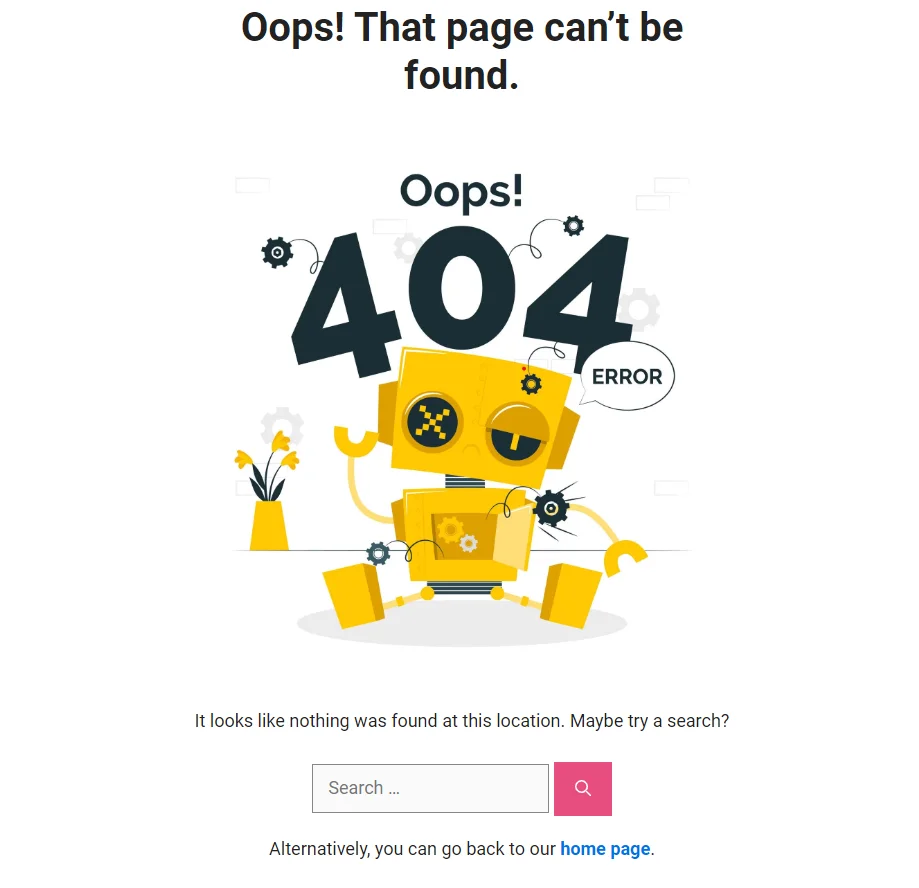
<h1 class="page-title"><?php _e('Oops! That page can’t be found.', 'yourtheme'); ?></h1>
</header><!-- .page-header -->
<div class="page-content">
<img src="http://tipslaptop.com/wp-content/uploads/2023/11/5203299.jpg" alt="404 Image" style="max-width: 100%; height: auto;">
<p style="margin-top: 20px;"><?php _e('It looks like nothing was found at this location. Maybe try a search?', 'yourtheme'); ?></p>
<?php get_search_form(); ?>
<!-- Additional content or styling can be added here -->
<p style="margin-top: 20px;"><?php _e('Alternatively, you can go back to our', 'yourtheme'); ?> <a href="<?php echo esc_url(home_url('/')); ?>" style="color: #0073e5; font-weight: bold;"><?php _e('home page', 'yourtheme'); ?></a>.</p>
</div><!-- .page-content -->
</section><!-- .error-404 -->
</main><!-- #main -->
</div><!-- #primary -->
<?php get_footer(); ?>
You’ll have to customize the code by changing the image URL and text in the code. This allows for a personalized touch, including images and specific messaging.
Conclusion:
In conclusion, creating a custom 404 page in WordPress is a straightforward yet impactful way to improve user experience and bolster SEO efforts. Whether using plugins, page builders, or coding, the goal is to seamlessly guide users through potential errors, keeping them engaged on your site. A well-crafted custom 404 page not only mitigates user frustration but also showcases your commitment to a user-friendly website, setting your brand apart in the competitive online landscape. Take the time to implement these strategies, and watch as your website becomes a more welcoming and efficient space for users.