Have you ever experienced that empty feeling after clicking “send” on a WordPress form? No confirmation email, no happy response from the customer—just silence. If this has happened to you, don’t worry, you’re not alone. The problem of “WordPress email not sending” affects even experienced website owners. But today, we’re here to help you overcome this issue and regain control of your messages!
Let’s start with the guide on How to Fix WordPress Not Sending Email Issue.
Understanding the Challenge
The root cause of your WordPress emails eluding delivery could lie in your hosting server’s configuration. The PHP mail() function might be misconfigured, or worse, your emails might be falling victim to the spam filters employed by popular email service providers. This is precisely why we advise against relying on WordPress for newsletters and strongly advocate for the use of SMTP (Simple Mail Transfer Protocol).
Why SMTP?
SMTP, being the industry standard for sending emails, brings with it a level of reliability and high deliverability. Unlike the PHP mail() function, SMTP utilizes proper authentication, reducing the likelihood of your emails being flagged as spam.
WP Mail SMTP Plugin:
This plugin is your email delivery knight in shining armor. This magical tool upgrades your WordPress email delivery from a bumpy ride to a smooth journey. Connecting your website to robust SMTP services ensures that your messages arrive like VIP guests—welcomed with open inboxes and eager eyes.
The Fix: A Four-Step Solution
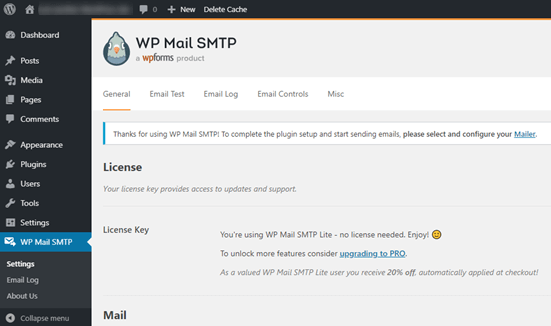
Step 1: Installing the WP Mail SMTP Plugin
- Head to Plugins > Add New and search for “WP Mail SMTP.” Activate it after installation.

- Navigate to your WordPress dashboard, locate ‘WP Mail SMTP,’ and input the desired name and business email address from which your site’s emails will originate.
Step 2: Setting Up Your SMTP Mailing Service
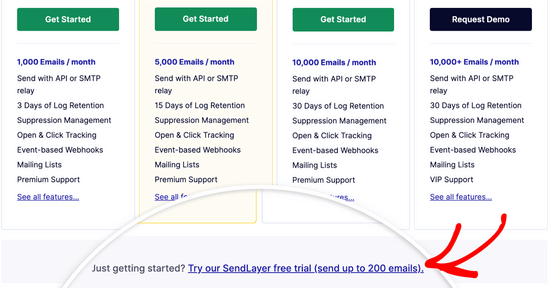
- Create an account: Head to SendLayer’s website and sign up for their free plan (perfect for most small sites).

- Authorize your domain: This proves you own your email address domain. SendLayer will provide instructions, but here’s the gist:
-
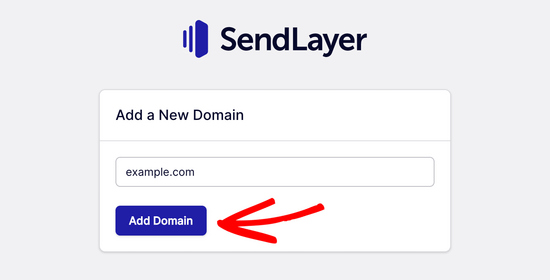
- Go to Settings > Domains & Settings.
- Click “Add Domain” and enter your website address.


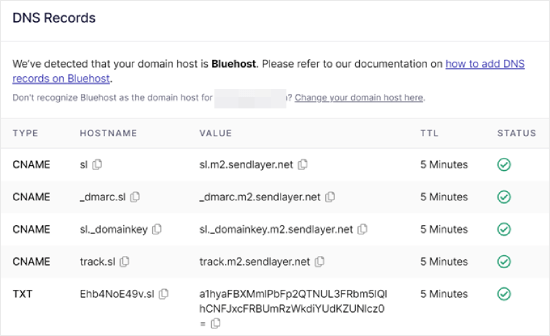
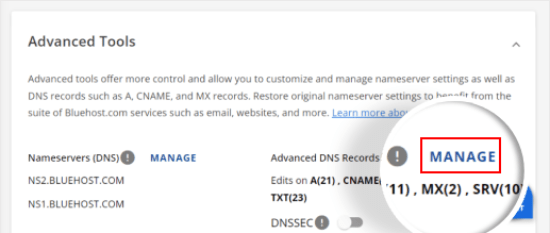
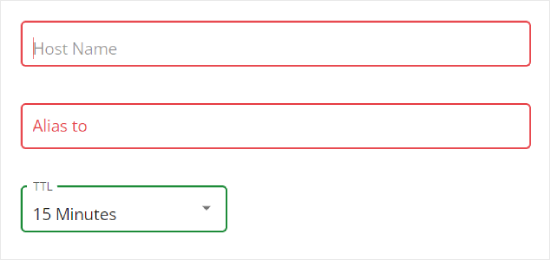
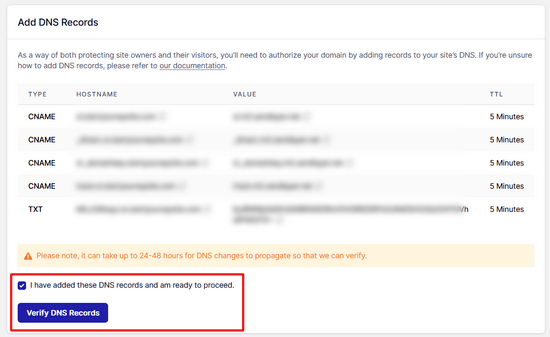
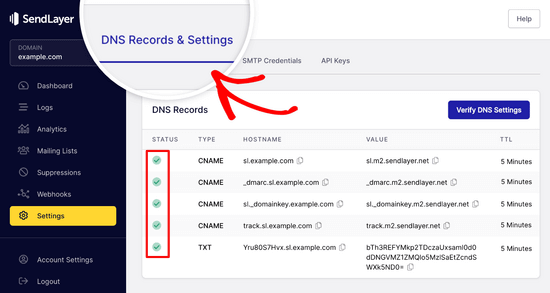
- After adding your domain, SendLayer will provide you with DNS records.

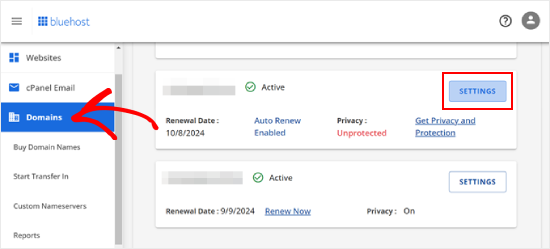
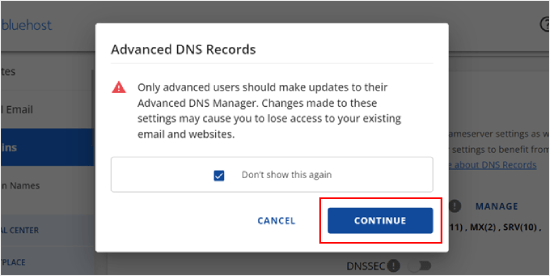
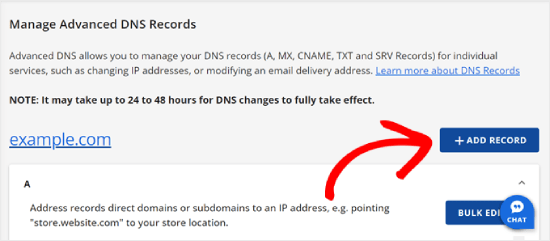
- Log in to your web hosting and find your DNS management section (usually under Domains or Advanced Settings).


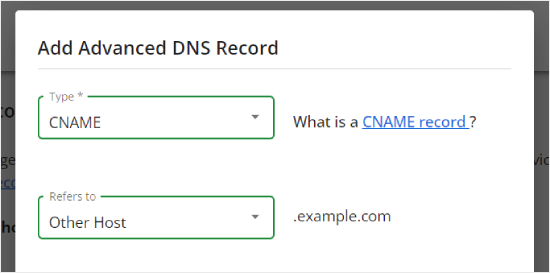
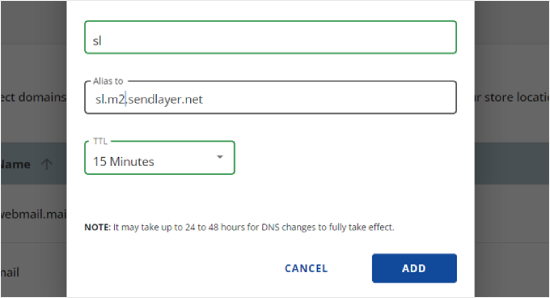
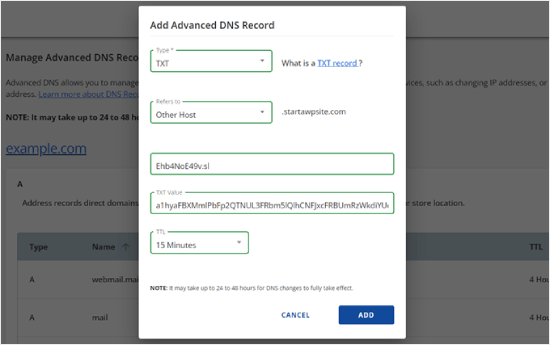
- Add each DNS record provided by SendLayer by copying and pasting values like Host Name and Alias.


- Once added, click Verify DNS Records in SendLayer. It might take a while, so grab a coffee!

-

Step 3: Connecting Your WordPress Website with SendLayer
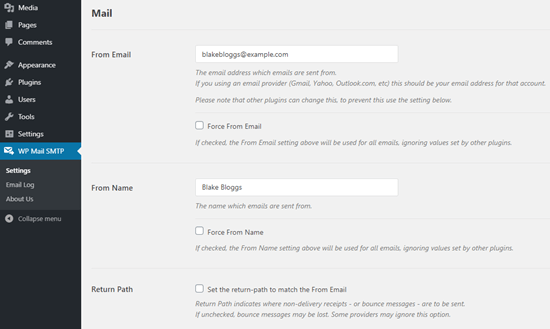
- Go to WP Mail SMTP > General Settings.

- Enter your desired Sender name and email address.


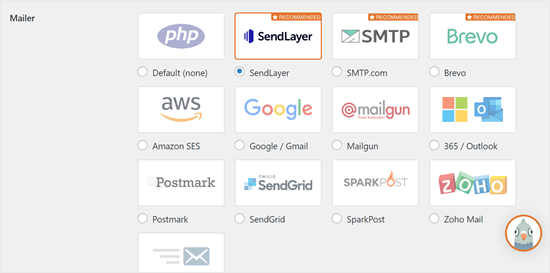
- Choose “Other SMTP” for Mailer.
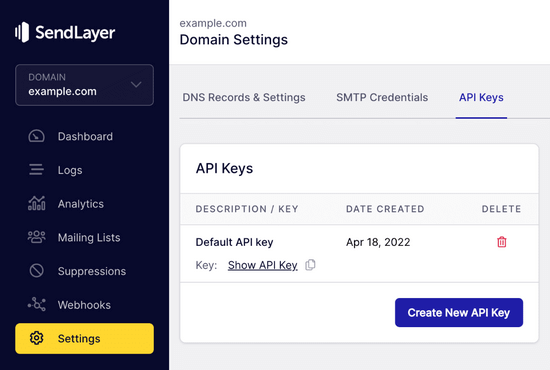
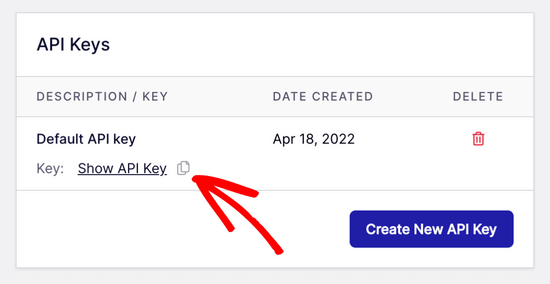
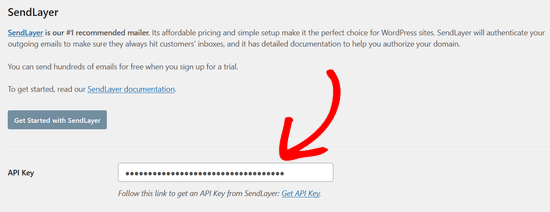
- Click on “SendLayer.com” and paste your SendLayer API key (found in Settings > API Keys).

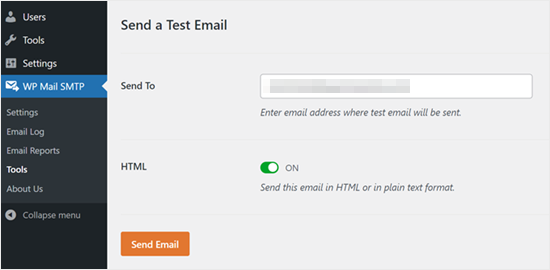
Step 4: Finishing WP Mail SMTP Setup with SendLayer
- Go to WP Mail SMTP > Tools > Email Test.

- Enter an email address to send a test to (usually your admin email).
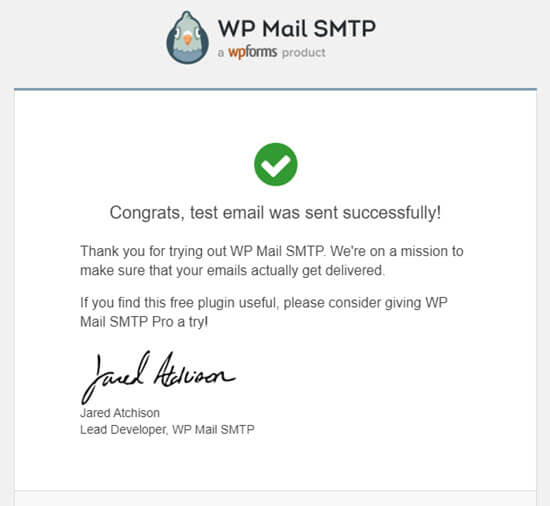
- Click “Send Email.” Look for a success message and check your inbox!

Alternatives for Diverse Needs
While SendLayer stands out as our recommended free option, WP Mail SMTP offers a range of alternatives. You can effortlessly integrate with Microsoft 365, Gmail (Google Workspace), Amazon SES, and more.
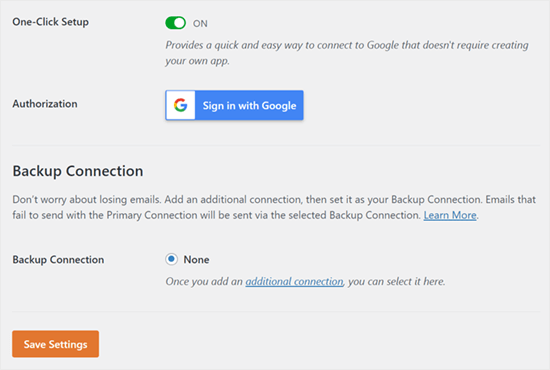
Using Gmail or Google Workspace
- Configure WP Mail SMTP by signing in to your Gmail account and clicking ‘Save Settings.’
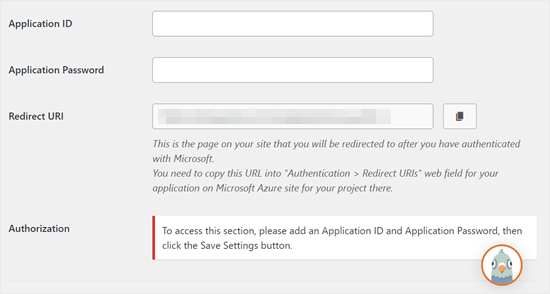
Using Microsoft 365
- Configure WP Mail SMTP for Microsoft Office 365 or Outlook users, although it’s considered less secure.

Using Amazon SES
- For users comfortable with Amazon’s AWS platform, Amazon SES provides a robust solution, allowing up to 62,000 free emails per month.
Conclusion
Irrespective of your chosen mailer, always leverage the ‘Test Email’ feature to confirm successful delivery. This guide is designed to demystify WordPress not sending email issues, providing you with a reliable path to email success. Check your inbox, and may your emails sail smoothly through the digital channels.
Bonus Tips:
- Stay vigilant: Update your SMTP settings and WordPress plugins regularly to keep email delivery smooth.
- Monitor spam folders: If emails still don’t arrive, check the recipient’s spam folder and whitelist your domain.
- Seek help: If you’re stuck, don’t hesitate to reach out to your SMTP service’s support or the WP Mail SMTP community.
With these weapons in your arsenal, the WordPress email beast will cower in fear. Go forth, brave web warrior, and let your emails conquer the inbox!
You may also like:
Latest WordPress Vulnerabilities and Security Issues & How to Fix them?
How to switch from Wix to WordPress